Do you know what makes other people’s garlic so flavorful and lush? The garlic you grow yourself produces very little. Growing garlic does not need to take too much time to take care of. Garlic prefers a cool, humid climate with temperatures around 62.6°F, and rainy spring weather is ideal for garlic growth. Garlic can be kept safe through the winter by planting it in a raised garden bed filled with mulch. How should garlic be grown, and what exactly is the growing process? This article will walk you through the entire process of growing garlic in a raised bed.
Sowing time
Garlic can be planted in the spring and autumn. Spring sowing is better done early than late. Because dormant cloves can germinate at 37.4°F-41.0°F, the best temperature for garlic seed germination is 59.0°F-68.0°F. The best time to sow garlic in the autumn is when the average daily temperature is 68.0°F–71.6°F to ensure that the garlic grows about 5 leaves before overwintering.
Seed selection
Seed selection is an important step in garlic cultivation because the quality of the seeds directly influences the robustness of the garlic seedlings and thus the yield. Choose garlic seeds that are full, large, and appear fresh; they should not have wounds or rotten pieces to avoid infecting the seedlings with diseases later on.
When purchasing garlic seeds, make sure they are specifically for growing garlic seedlings and not those used to make garlic heads. The two types of seedlings grown have different thicknesses and heights. Garlic seeds that have been specially grown grow thicker, taller, and faster. You can also use full, fresh garlic for cultivation if you have grown garlic at home.
Sprouting from separate seeds
A full head of garlic contains approximately 10 cloves, which is equivalent to 10 seeds. Peel off the outer coating of the garlic seeds and break them into cloves for germination. Place the garlic seeds in a separate location for germination. The garlic seeds will sprout in about a week and can be transplanted into the raised garden.
Soaking in water
Garlic seeds can be germinated by soaking them in water at a temperature of 77°F or higher, and the germination of garlic seeds will be evident after 1-2 days of soaking. Once sprouted, they can be transplanted into the prepared garden bed.
Topping and sprouting
Garlic seeds have a skin on the outside that protects the garlic. The germ is in the centre of the garlic and is completely wrapped around it. Soak the garlic seeds in water for 1-2 days before cutting off about a quarter of the top to reveal a small hole in the centre and sowing the seeds. The seeds treated in this manner will germinate in about three days.
Germination in fine soil
Soak the garlic seeds in water for 1-2 days before planting them in the garden bed, tips up. Cover with a 1-inch layer of soil or compost and water thoroughly. The top layer is made of straw or hay.
Bag Sprouting
Soak the garlic in water for 10-12 hours. Then place the garlic in bags (cloth bags are preferable) and place them indoors. Check the bags regularly by turning them over every day and spraying them with water to ensure the garlic is moist. Usually in about 3-5 days, white root whiskers will appear on the roots of the garlic. Once the whiskers appear, the garlic can be transplanted into the garden bed.
Till the soil in the raised garden bed
We need to till the soil in the garden bed a few days before planting the garlic. Simply turn the soil in the garden beds with a gardening tool. If you feel the soil in your garden bed is deficient in nutrients, you can bury the compost. Distribute the compost evenly across the garden bed. Garlic prefers a nutrient-rich, deep, loose soil environment. With adequate nutrients, the garlic will grow well in the first stage.
Sowing garlic seeds
We can begin sowing garlic seeds once they have germinated and developed a strong root system. Garlic seeds can be easily sown by inserting them one by one into the soil at a specific spacing, leaving only one bud eye to emerge. After planting the garlic seeds, drench the soil with water and allow it to soak. When planting the garlic seeds, take care not to damage the plant’s buds or roots. Make a small hole with your fingers, then insert the seeds and cover with soil.
Garlic management after planting
Fertilizer management
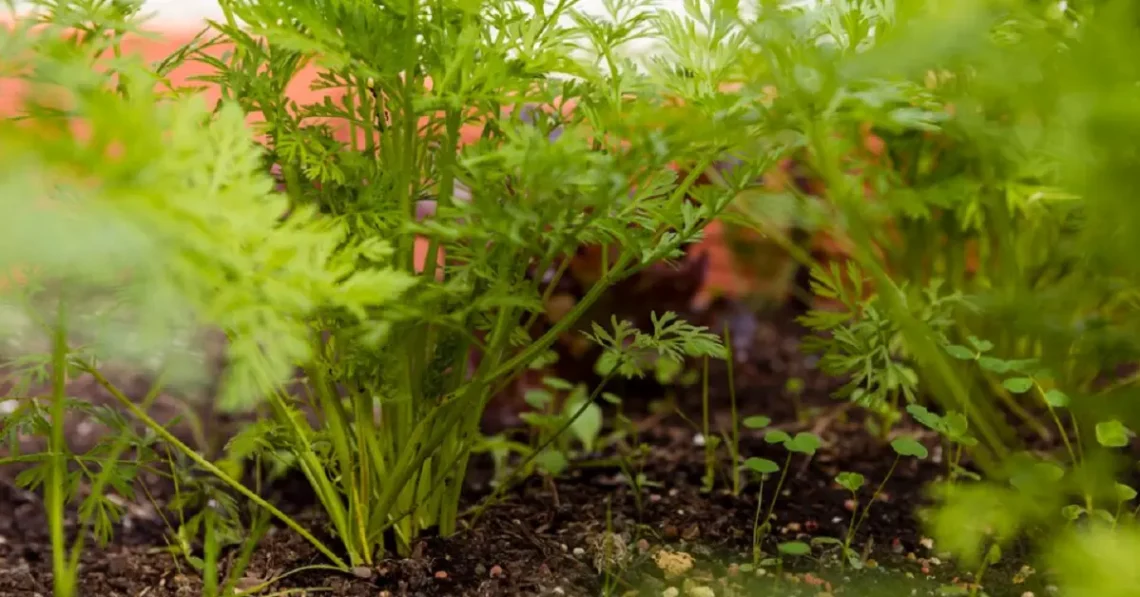
Following the planting of the garlic, the next step is to wait for the garlic seedlings to emerge, which usually takes 5 to 7 days. Chicken manure is the primary fertilizer for garlic because it is a high-potassium fertilizer that can replenish a lot of potassium while also promoting garlic growth. In addition to chicken manure fertilizer, garlic should receive regular applications of liquid fertilizer to supplement some nitrogen nutrients. To improve the quality of the garlic, add some potassium sulphate to the farmyard manure after applying the fertilizer. It contains sulphur, which can improve the quality of garlic.
Anti-frost and anti-rotting management
Preventing frost damage and rot is the core task during the seedling stage. Garlic root rot is mainly due to poor soil permeability, which leads to the rotting of garlic nutrient bodies. Due to the rotting of the garlic root system, the seedlings may be undernourished and grow too weak to survive the winter.
This requires the garlic field not to be watered too much and to prevent soil slumping before planting garlic, so it is necessary to till the soil before planting garlic, whether it is planted in the ground or in a garden bed. Frost prevention is also a major task in seedling management. Filling the beds with mulch is a major key, and there is also nitrogen, phosphorus, and potassium fertilizer that can be spread before overwintering to improve the growth state of garlic.
In addition to fertilization, frost protection, and rot prevention, garlic needs to be checked regularly. When you notice yellowing leaves, check to see if they are infected with root maggots or other diseases, and keep the pests and diseases contained in the bud to avoid large expansion.